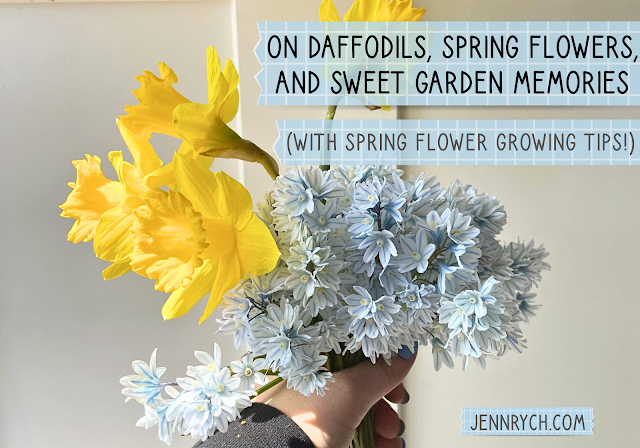
When I was a kid, I used to marvel at the daffodils, tulips, and hyacinths in my Grandma's garden. We'd visit her at least once a week, sometimes more, and all Spring and Summer long she'd let us pick a few stems to go home with us.
She'd wrap the ends in a wet paper towel, then wrap that in a piece of crinkly aluminum foil to help them make the journey home. I can still feel it exactly - the cool metal foil scratching against my palms with the water slowly leaking through the cracks and down my arms. The petals of the flowers dancing in the wind coming in the open windows and the sun warming my face. My constant leaning in for a sniff and the pollen dusting my nose. It is such a nostalgic memory - of which I have many.
(And ugh, I have the coolest daffodil thing to show you ever, so stay tuned til the end!)
When daffodils arrive every spring, it makes me giddy.
Not even considering my sweet memories with them, there's just something magical about the way Spring flowers pop up after a long, cold winter - especially here in Buffalo. It's like the world is waking up and saying, "Hello, I'm here, you can breathe deep again!" Spring flowers can range from delicate and dainty to bold and vibrant, but they all share one thing in common: they remind us of all the beauty there is to be found in the world.
Daffodils are kind of the star of the show because they're one of the earliest bloomers and they do it SO well. They're so bright and cheerful, grow in big bunches, and enthusiastically spread themselves around. These cheerful flowers are a staple of spring gardens and are loved for their bright, happy petals. But did you know that daffodils have a rich history and symbolism? In fact, they were first cultivated by the ancient Greeks and Romans, who believed that daffodils had healing powers. There's also a Greek myth about their origin.
According to the Farmer's Almanac (on Almanac.com), this is the story:
"It’s believed that the daffodils are named after Narcissus, the son of Cephissus, who was the river god in Greek mythology. According to legend, Narcissus fell in love with his own reflection in the water and when he died starring at himself, the daffodil bloomed where he died." (source)
Ooookay soo, now I get where the word narcissism comes from. Dang daffodils, full of themselves! But for good reason. Have you seen them?!
In the language of flowers, daffodils represent rebirth, new beginnings, and friendship. They're also the official flower of March, which is fitting since they're one of the first flowers to bloom in the spring. So, if you're looking for a flower to symbolize a fresh start or a new chapter in your life, daffodils might be an awesome talisman for that. (Some pretty wall art or a morning coffee mug with daffodils on it comes to mind. Hmmm, shop ideas, haha.)
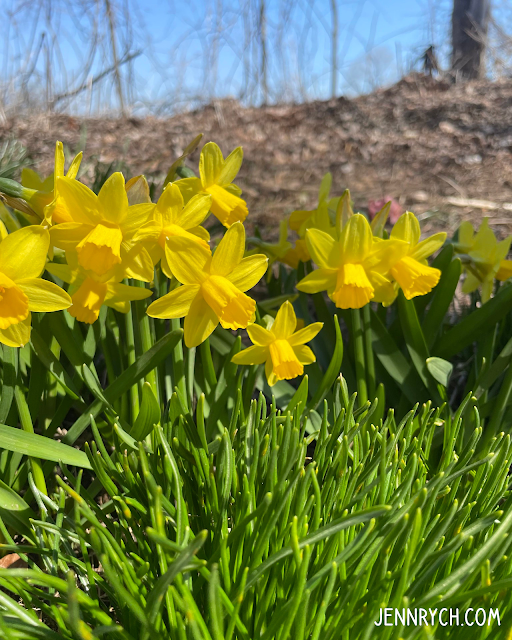
I'm lucky enough that one of the previous owners of our house planted daffodil bulbs in our front landscaping. They've stayed there even through re-building that area because I adore them so much I always made sure they stayed safe. But the truth is...I've done nothing to make it happen. They just do. They pop up in March or April and I squeal and take pictures and then I pick a few and we do it all again the next year. But I would love to have more.
So, let's talk about how to grow daffodils in our own flower gardens, hmm?
I had to turn to the 'ol Google for this, but it looks like it's best to choose a spot that gets plenty of sunlight and has well-draining soil. And apparently, daffodils prefer slightly acidic soil, so consider adding some peat moss or compost to the planting area.
Daffodil bulbs should be planted in the fall, about 6 inches deep and 4 to 6 inches apart. Water them well and then let nature do its thing. In the spring, you'll be rewarded with a beautiful display of daffodils! (The trouble is remembering spring flowers when you're in cozy spooky season...better put it in the planner now.)
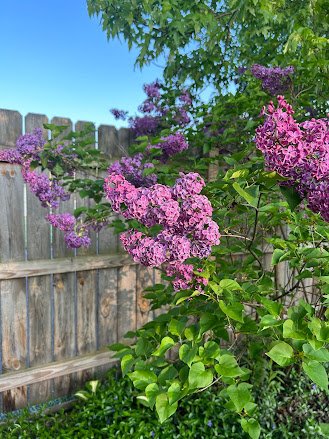
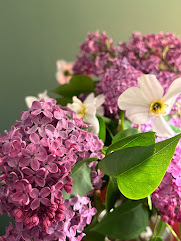
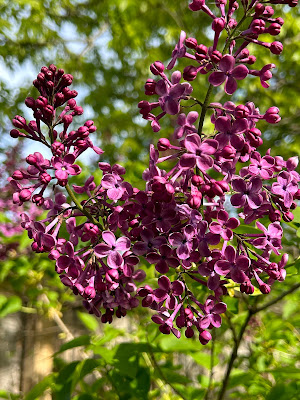
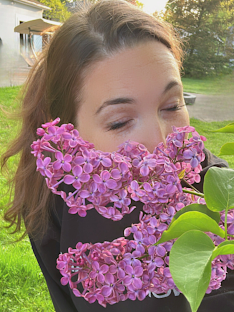
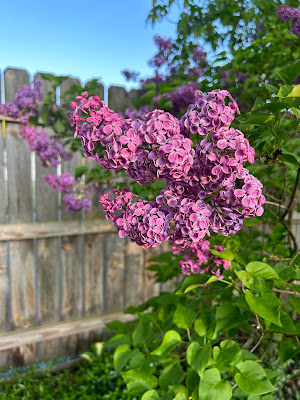
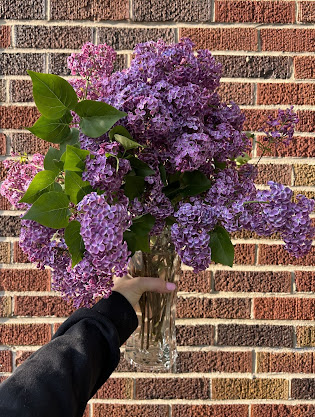
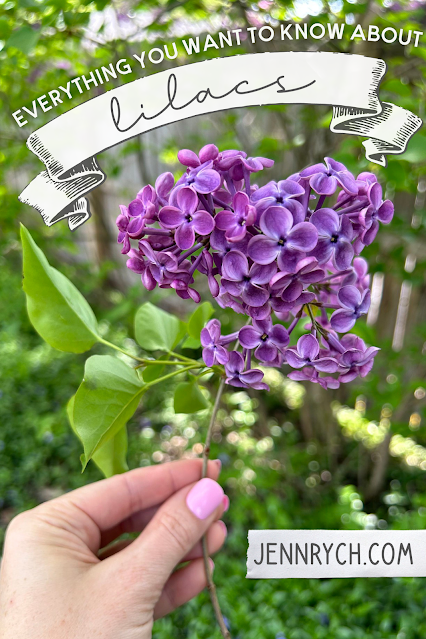
Daffodils aren't the only spring flowers worth planting. I'm partial to Forsythia (because when it blooms I can just feel the warmer days ahead), and of course...lilacs. I'm mildly obsessive about my lilacs! Both of these are extremely low-maintenance, but won't really give you the cut flower garden experience.
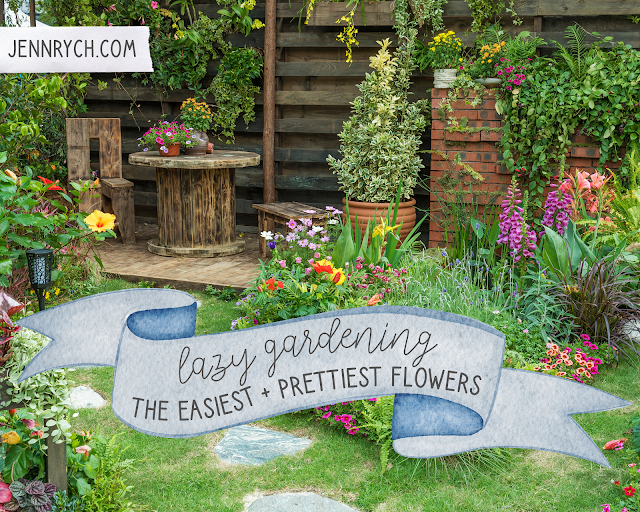
So, here are a few other popular options:
Tulips: These bright and bold flowers come in a variety of colors and are known for their cup-shaped blooms. Plant them in the fall for a stunning display in the spring.
Hyacinths: With their fragrant blooms and bold colors, hyacinths are a must-have in any spring garden. Plant them in the fall and enjoy their beauty in the early spring.
Crocuses: These delicate flowers are often the first to bloom in the spring, and their colorful petals are a welcome sight after a long winter. We have a few of these in our landscaping, too, and I love seeing their little purple petals poking out! Plant them in the fall and watch them pop up in the early spring.
Kind of annoying that we have to wait until the fall to make next spring extra gorge, but whatever, nature. ;)
Okay, okay....my amazing surprise!
So today I dropped my Dad at his house after giving him a ride home from the airport, and he gave me the thumbs up to raid the woods next to his house for wild daffodils. I don't know exactly what kind they are - only that they are definitely different from the ones growing in my yard! And they smell amazing.
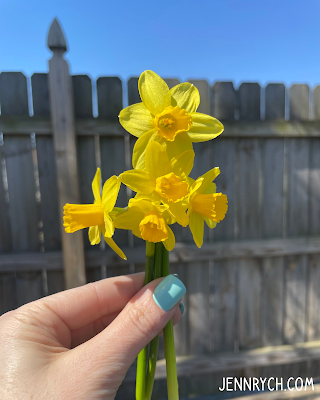
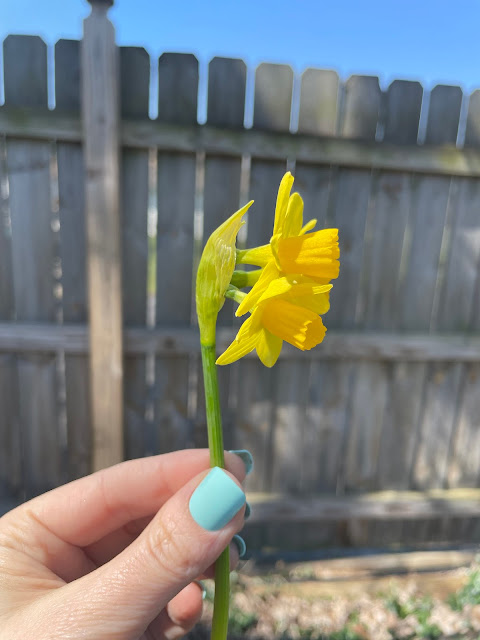
So we walk over to another area where they were growing, and I saw his little collection of mini daffodils. I'd never seen them, so I was geeking out over how adorable they were and taking pictures (one of which is above), and he told me to go ahead and take some of those, too. So I start sifting through for the ones I want when I gasped and let out a SHUT UP.
Because....
I found triplets. Yes! Triplet, baby, daffodils. TRIPLET. BABY. DAFFODILS.
This unique beauty deserves all the narcissism in the world. I'll just let the photos speak for themselves......
YEP, that is only one stem there in my fingers, but threeeeee little tiny baby daffodil blooms. TRIPLETS!!!!!
My excitement was.....probably embarrassing. But I immediately started contacting every flower lover I know to revel in this insane find. I have it parked right next to me while I write this, and probably will all day. Did I plan to write this post today? Nope, I had about 20 other things on my list. But when a triplet baby daffodil falls into your palm, you stop everything and share it with the world!
Now let's go get some dirt under our fingernails and plant more flowers! (Always more!!)
Before you go: what's your favorite spring flower?

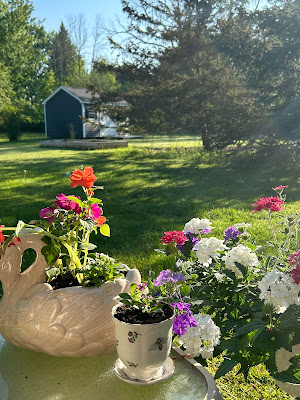 I position them in little clusters by the wicker chairs that surround our firepit, on the little outdoor table next to our patio swing, on the back steps - basically anywhere someone might notice them or relax for a while.
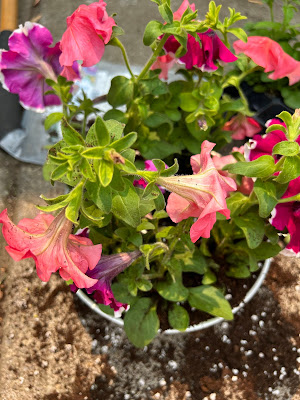


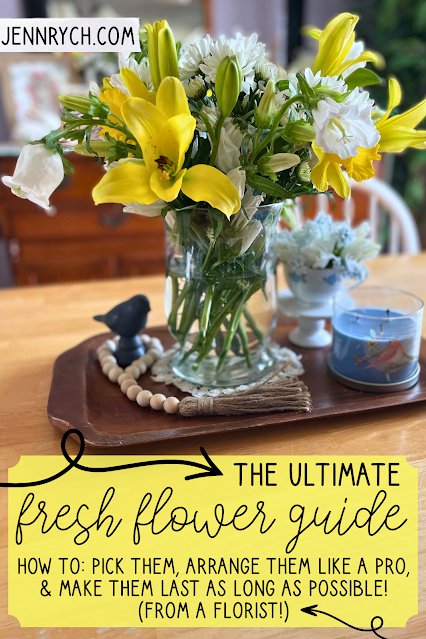
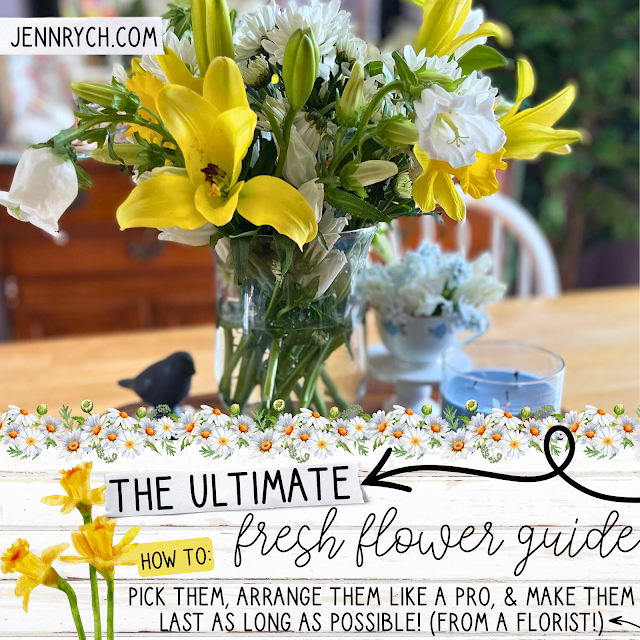 As someone who loves keeping fresh flowers in my home, I've learned a few tricks over the years that I've confirmed with an actual florist! Yep - I have an in. One that I can text 24 hours a day with all of our burning floral questions.


.png)
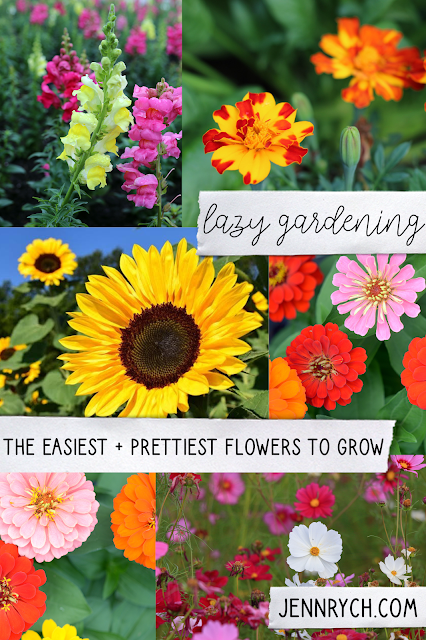
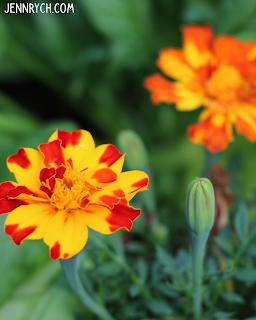 They bloom all summer long and are great for cutting and bringing indoors. Plus, they're a natural pest repellent, so they'll keep your garden healthy and happy. I plant them around the perimeter of my garden and they really do help in a variety of ways. I rarely have insect issues, they attract pollinators, and they look super gorge from a distance.
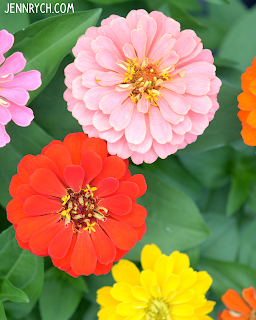 These bright, colorful flowers come in a variety of shades and shapes, from classic daisy-like blooms to pom-poms and doubles. They're perfect for cutting and adding to bouquets, and they attract butterflies and hummingbirds to your garden. Best of all, they're virtually indestructible, so even if you forget to water them for a few days, they'll bounce back.
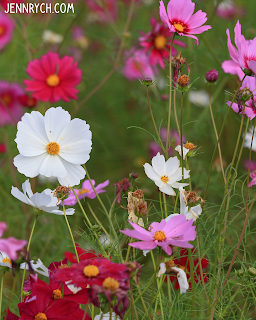
 These old-fashioned flowers come in a variety of colors and have a distinctive shape that kids love. They're great for adding height and texture to your garden, and they make a great cut flower for arrangements.
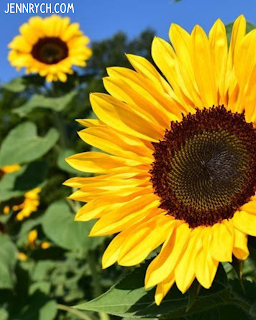 They give me ALL the August & September feels. And if you're looking for a flower that's as easy to care for as it is beautiful, try growing sunflowers from seed. These towering beauties come in a variety of sizes and colors, from the classic yellow to burgundy, orange, and even bi-colors. They're perfect for cutting and adding to arrangements, and they attract birds to your garden.